

How to Set Up a Ledger as Your Merchant Receiving Wallet in 2026

Why You Should Keep Your Merchant Funds on a Ledger
If you run an online store or accept donations, your biggest risk isn't just losing sales-it's losing control of your money. Most merchants using traditional gateways hand over their private keys to a third party. That works until the platform freezes your account, charges hidden fees, or gets hacked. By setting up a Ledger as your primary receiving wallet, you take that power back.
A Ledger device is a non-custodial hardware wallet that stores your private keys offline in a secure element. When connected to a self-hosted payment processor like BTCPay Server, it acts as the final vault for your business funds. The payment processor handles the invoices and customer interactions, but the actual coins land directly in addresses derived from your Ledger. No middleman holds your cash. This setup has become the gold standard for privacy-focused merchants and solo founders who want sovereignty over their revenue.
Understanding the Technical Architecture
To make this work, you need to understand how modern crypto wallets communicate with servers without exposing secrets. It all comes down to the extended public key, often called the xpub. Think of the xpub as a read-only copy of your wallet structure. It allows software to generate an infinite number of unique receiving addresses for each invoice, ensuring every customer pays to a fresh address. However, the xpub cannot spend funds. Only the private keys stored inside your Ledger can authorize a transaction.
When you connect your Ledger to a system like BTCPay Server, the server imports this xpub. From that point on, when a customer clicks "Pay" on your website, BTCPay generates a new Bitcoin address derived from your Ledger's seed phrase (which never leaves the device). The customer sends Bitcoin to that address. Once the blockchain confirms the transaction, the funds are yours, sitting in your Ledger-controlled account. To move them later, you simply plug the Ledger back into a computer running a signing tool like BTCPay Vault, verify the details on the physical screen, and click the buttons to sign.
Step-by-Step: Connecting Ledger to BTCPay Server
The process requires a bit of technical patience, but the security payoff is massive. Here is how you link your hardware wallet to your payment infrastructure.
- Prepare Your Ledger: Plug your Ledger Nano S Plus or Nano X into your computer. Unlock it with your PIN and open the Bitcoin app on the device. Ensure your firmware is updated to the latest version via Ledger Live.
- Deploy BTCPay Server: If you haven't already, you need a running instance of BTCPay Server. Many merchants use Docker containers on a VPS (Virtual Private Server) running Ubuntu or Debian. Make sure your server has a full Bitcoin node synced, which provides maximum privacy by avoiding third-party APIs.
- Navigate to Wallet Settings: Log into your BTCPay dashboard. Go to your Store settings, then find the "Wallets" section. Select the Bitcoin wallet you want to configure.
- Import from Hardware Device: Click on "Setup" and look for the option to "Connect existing wallet" or "Derivation Scheme." Choose "Import from Hardware Device." BTCPay will detect your Ledger via USB.
- Select Account and Export: On your Ledger screen, you'll be prompted to select an account (usually Account 0). Confirm the export of the public key on the device. BTCPay will automatically populate the derivation scheme field with your xpub.
- Verify Addresses: This is the most critical step. BTCPay will show you the first receiving address generated from your xpub. Open Ledger Live on your computer, go to your Bitcoin account, and click "Receive." Compare the address shown on Ledger Live with the one in BTCPay. They must match exactly. If they do, your connection is secure.
- Enable Payments: Once verified, save the settings. Your store is now ready to generate invoices that pay directly to your Ledger-derived addresses.

Managing Outgoing Transactions with BTCPay Vault
Receiving money is only half the battle. Eventually, you'll need to pay suppliers, withdraw profits, or rebalance your treasury. Since your server doesn't have your private keys, it can't send money on its own. This is where BTCPay Vault comes in.
BTCPay Vault is a desktop application that runs locally on your machine. It acts as a bridge between your browser-based BTCPay interface and your hardware wallet. When you initiate a send request in BTCPay, the server creates an unsigned transaction. It passes this data to BTCPay Vault, which forwards it to your Ledger via USB. You review the recipient address and amount on the Ledger's tiny screen. If everything looks right, you press both buttons to sign. The signature is sent back to BTCPay, which broadcasts the transaction to the network. Your private keys never touch the internet during this entire flow.
Security Best Practices for Merchants
Even with a hardware wallet, human error is the weakest link. Follow these rules to keep your merchant setup bulletproof.
- Never enter your seed phrase into BTCPay: The system only needs the xpub. If any guide tells you to type your 24-word recovery phrase into a web form, stop immediately. That is a phishing attempt or a configuration error.
- Use multi-signature setups for large volumes: If your business processes significant daily volume, consider a multi-sig wallet where spending requires signatures from two different devices or people. This prevents a single stolen Ledger from draining your funds.
- Isolate your signing environment: Ideally, use a clean, dedicated computer for connecting your Ledger to BTCPay Vault. Avoid installing unnecessary software on this machine to reduce malware risks.
- Regular backups: Your Ledger device can break or get lost. Your 24-word seed phrase is the ultimate backup. Store it physically in a fireproof safe, not digitally on your cloud drive.
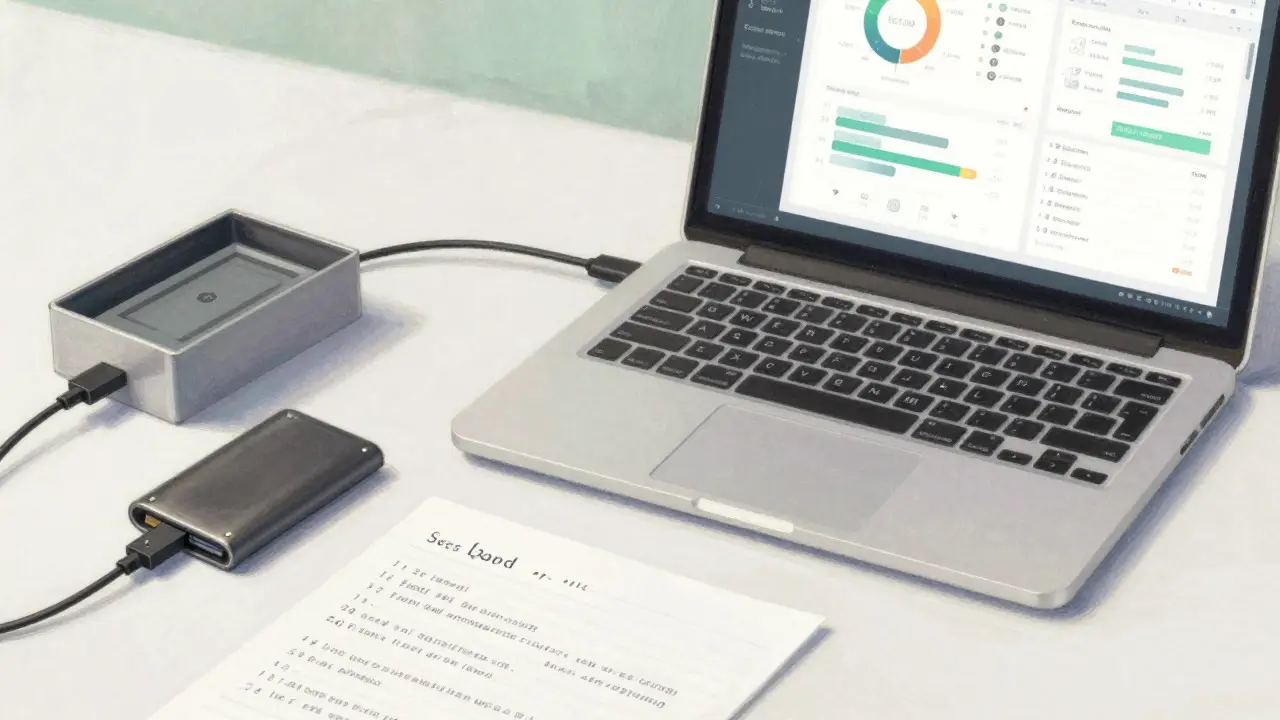
Comparison: Ledger + BTCPay vs. Custodial Gateways
| Feature | Ledger + BTCPay Server | Custodial Gateway (e.g., BitPay) |
|---|---|---|
| Custody of Funds | You (Non-Custodial) | Provider (Custodial) |
| Transaction Fees | Only network fees | 1% - 3% per transaction |
| KYC Requirements | None (Self-Hosted) | Strict Identity Verification |
| Risk of Freezes | Zero | High (Policy dependent) |
| Technical Complexity | High (Requires Node/VPS) | Low (Plug-and-play) |
The trade-off is clear. Custodial gateways are easier to set up-you just paste an API key into your Shopify or WooCommerce store. But you pay a premium for convenience and surrender control. With Ledger and BTCPay, you pay for a VPS (often $5-$10/month) and invest time in learning the stack, but you keep 100% of your revenue and face zero risk of arbitrary account closures. For many indie hackers and small businesses, this freedom is worth the initial learning curve.
Alternative Tools and Modern Integrations
While BTCPay Server is the most popular open-source solution, the ecosystem is evolving. Some developers prefer lighter-weight alternatives if they don't want to run a full Bitcoin node. For instance, newer platforms like TxNod offer a middle ground. TxNod allows you to connect your Ledger via WebHID directly through a browser dashboard, deriving addresses for invoices without requiring you to manage a complex server infrastructure. It supports multiple chains, including Bitcoin and Ethereum, and settles funds straight to your wallet. While BTCPay remains the king of total decentralization, tools like TxNod appeal to solo founders who want non-custodial security with a faster setup time and less operational overhead.
Another consideration is Lightning Network integration. If you want instant, low-fee settlements, you can pair your Ledger for on-chain storage with a Lightning node managed by BTCPay. Customers pay instantly via Lightning, and you periodically sweep those balances to your main Ledger address for long-term holding. This hybrid approach gives you the best of both worlds: speed for customers and security for your treasury.
Troubleshooting Common Issues
New users often hit snags during setup. Here are the most frequent problems and how to fix them.
Address Mismatch: If the address in BTCPay doesn't match Ledger Live, check your derivation path. Ensure you selected the correct account index (usually m/84'/0'/0' for native SegWit). Mixing up legacy and SegWit paths will result in empty wallets.
USB Connection Errors: BTCPay Vault relies on direct USB communication. If it fails to detect your Ledger, try a different USB cable or port. Disable any other wallet software that might be locking the device, such as Electrum or Exodus.
Firewall Blocks: If your e-commerce plugin can't reach your BTCPay server, check your VPS firewall settings. Ensure ports 80 and 443 are open, and that your reverse proxy (like Nginx) is correctly forwarding traffic to the Docker container.
Do I need a full Bitcoin node to use Ledger with BTCPay?
Technically, no. You can use a remote node provider. However, running your own full node is highly recommended for maximum privacy and reliability. It ensures you aren't relying on third-party APIs to validate transactions, keeping your entire stack truly decentralized.
Can I use my Ledger to receive Ethereum or stablecoins?
Yes, but BTCPay Server primarily focuses on Bitcoin. To receive Ethereum, ERC-20 tokens, or other assets on your Ledger, you would typically need a different payment gateway or integrate a separate Ethereum node. Some newer multi-chain gateways support importing ETH xpubs from Ledger alongside BTC.
What happens if I lose my Ledger device?
As long as you have your 24-word recovery seed phrase, your funds are safe. You can buy a new Ledger, restore it with your seed phrase, re-import the xpub into your BTCPay server, and regain access to all your merchant funds. The device itself is just a tool; the seed phrase is the key.
Is BTCPay Server free to use?
The software is completely open-source and free. However, you will incur costs for hosting your server (VPS) and potentially for bandwidth. Unlike custodial processors that charge 1-3% per transaction, BTCPay charges zero gateway fees, making it cheaper for high-volume merchants.
How do I handle taxes with a non-custodial setup?
Since you control the ledger, you are responsible for tracking your own transactions. BTCPay Server provides detailed CSV exports of all invoices and payments. You can feed this data into accounting software or tax tools to calculate capital gains and income accurately.